
If you’re anything like me, and need to test out some tweaks to a website or plugin, you’d prefer a dedicated website to tinker with. In this guide, I will walk through how to create a WordPress sandbox with SiteGround. Sandbox environments are perfect for testing themes, plugins, and configurations. I’m going to assume you have a SiteGround account ready to go. If not, head over to SiteGround’s website to learn how to setup a SiteGround hosting account.
Setting up a Temporary Site Within Siteground
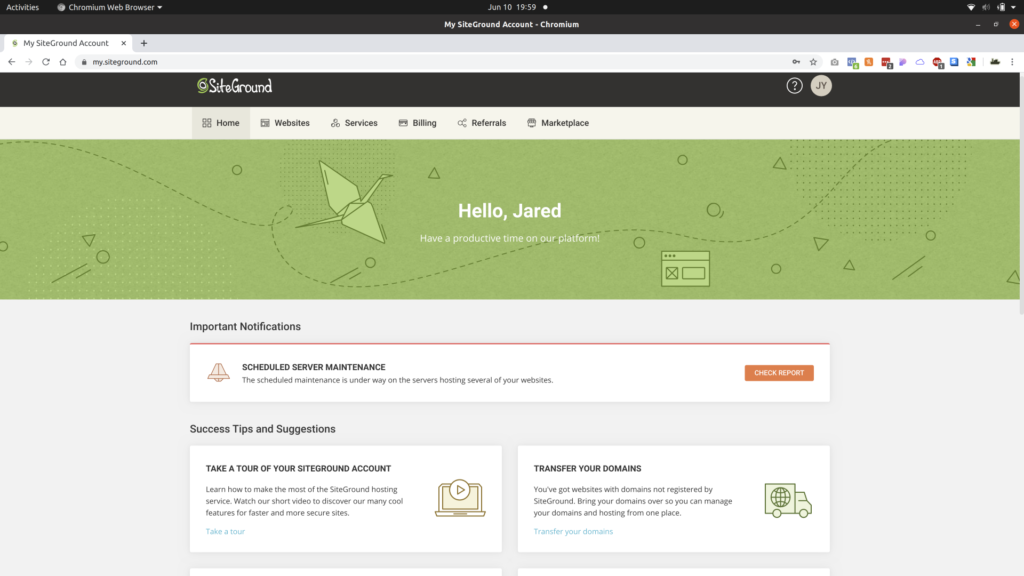
If you’re not logged into SiteGround already, please do so. Once you have, you should see the following screen:
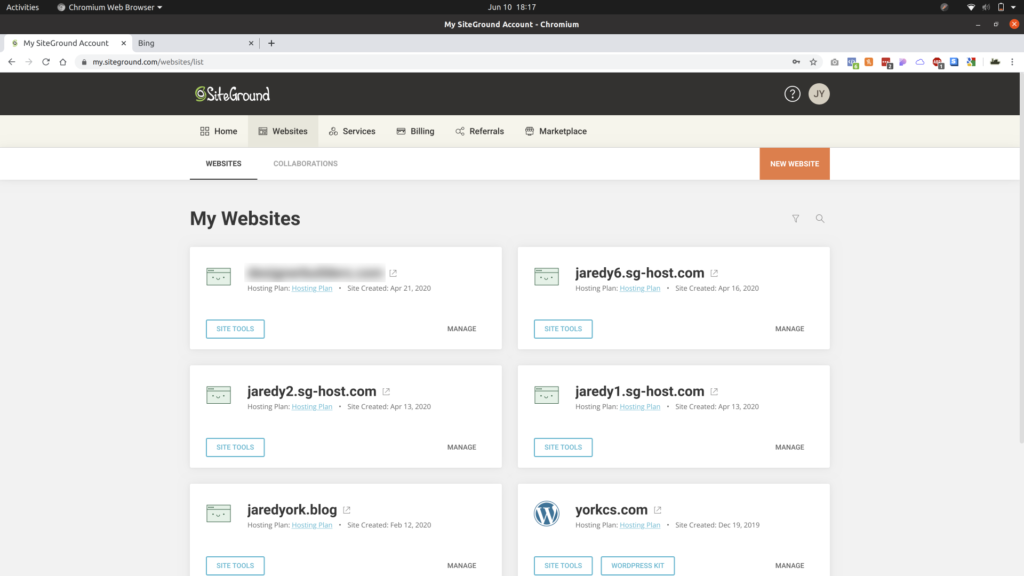
Now, click on the Websites tab on the navigation bar. You will then see a grid of all the websites you’ve created. If you already have sites shown here, you probably know the usual way to create a new website. However, we’re not creating the usual run-of-the-mill website. You want to create a sort of sandbox website to be able to tinker with, right? The next step is standard, click the orange New Website button. After you’re finished creating the WordPress sandbox with SiteGround, you will see the website appear in this list of websites.
If you’ve added websites to SiteGround before, you’re probably familiar with the following screen.
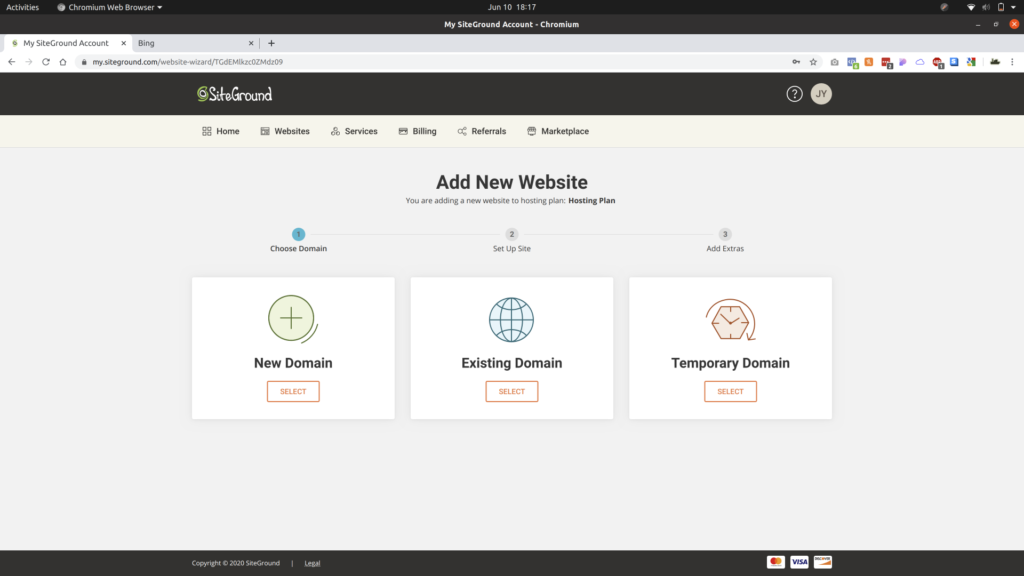
On the Add New Website screen, click the Select button under the Temporary Domain card. Once you have that selected, you can see that SiteGround will setup a free subdomain for you (which they label a temporary domain name). I already created six temporary websites in the past, so this will be my seventh temporary site (hence, jaredy7.sg-host.com).
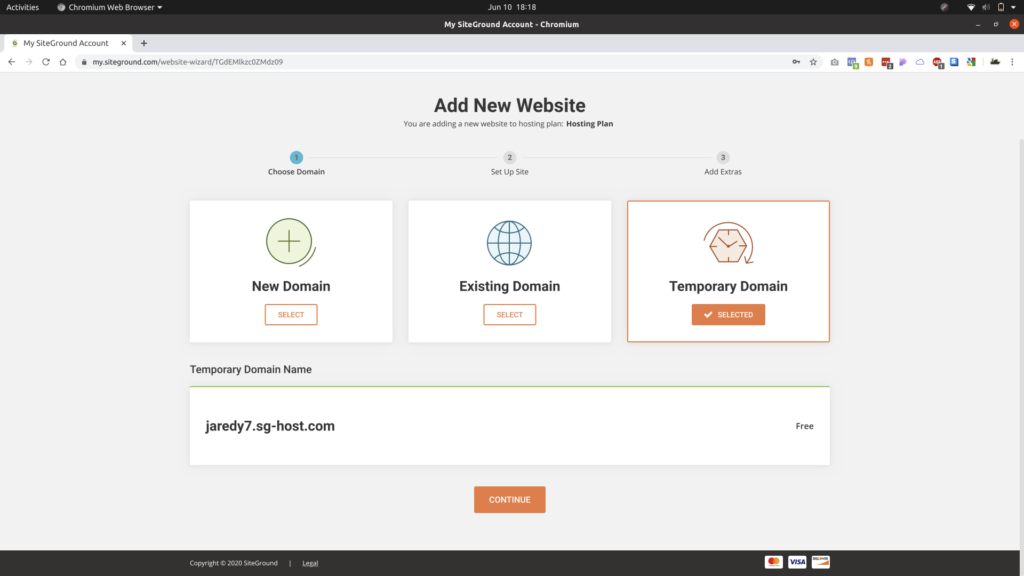
Once you’ve verified that everything looks good, you can click the Continue button.
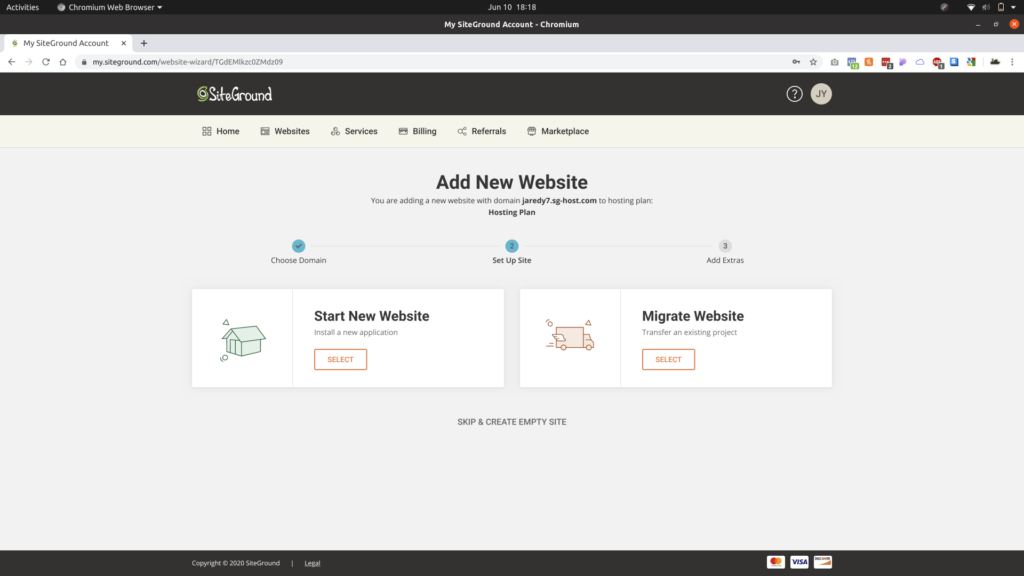
After clicking Continue, you will then see this new screen prompting about whether you want to start a new website, migrate an existing website, or skip and create an empty site. I always click Skip & Create Empty Site, however you can choose the option you prefer. For this guide, we will click Skip & Create Empty Site.

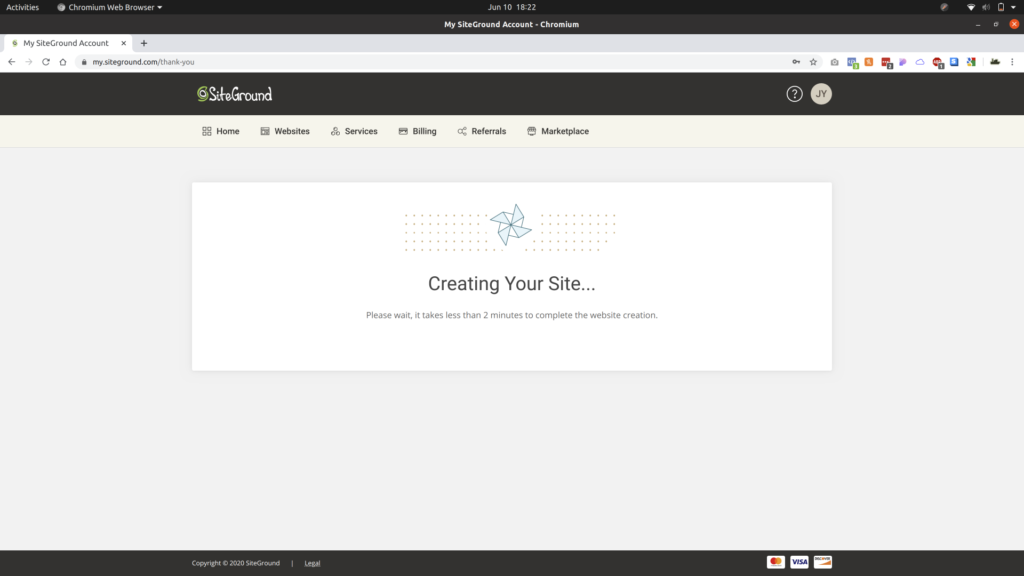
You can click finish and you’re all set now! SiteGround will create your new temporary website. As SiteGround says, this process should take less than two minutes to complete. Feel free to take a coffee break.
Once SiteGround is done setting up your website, you should see the following screen.
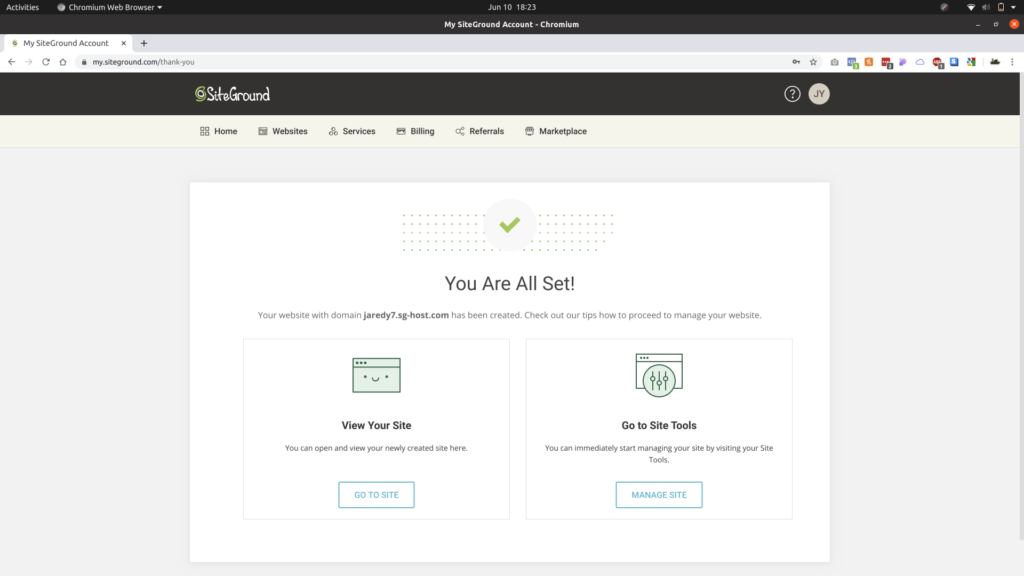
From this screen, you can click the Manage Site button under Go to Site Tools.
Configuring Your Sandbox Website On SiteGround
Installing an SSL Certificate
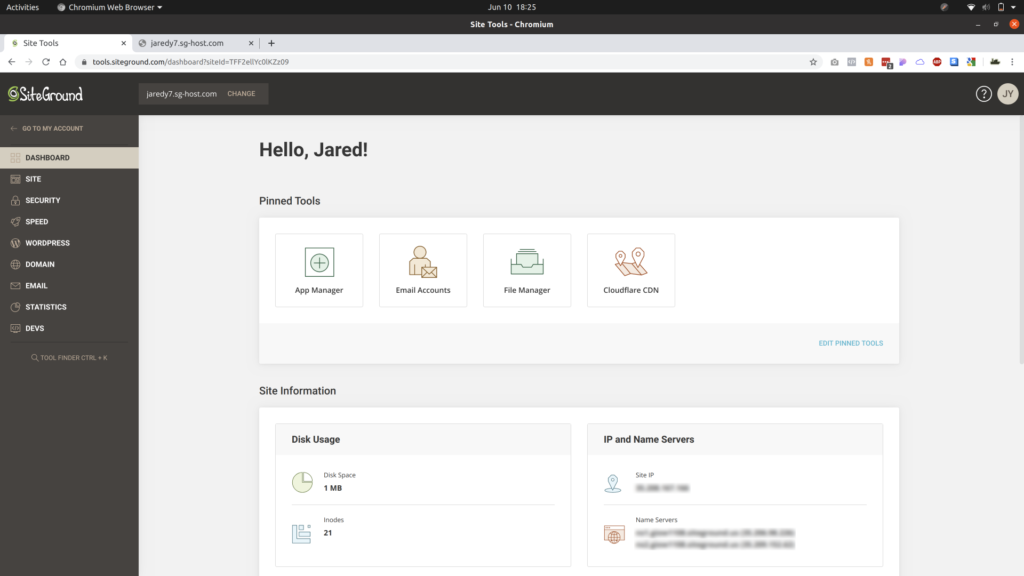
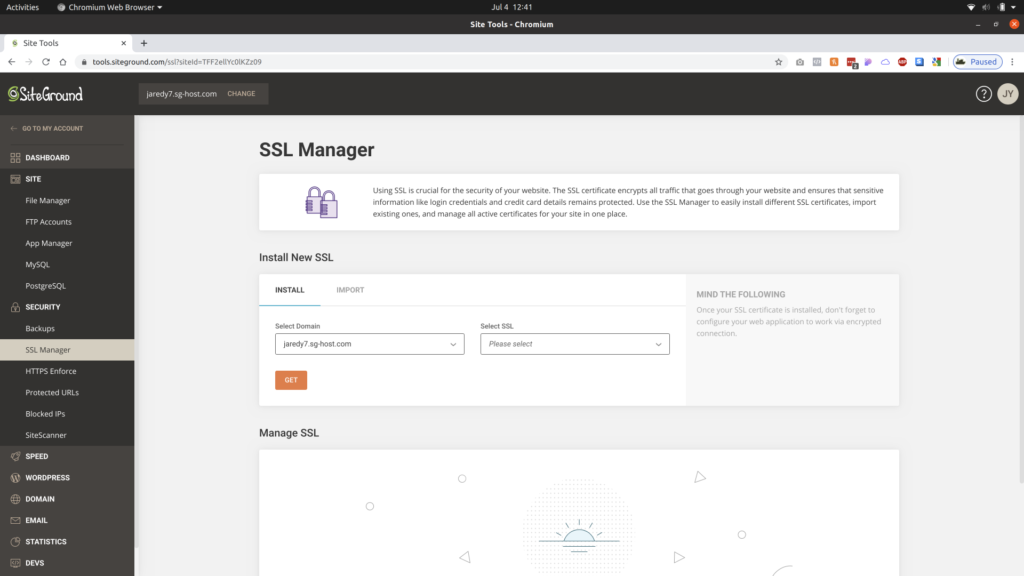
When you are creating a WordPress sandbox with SiteGround, you will want to install an SSL certificate. SiteGround makes this very easy. Go to the SSL Manager tab under the Security category on the left sidebar.
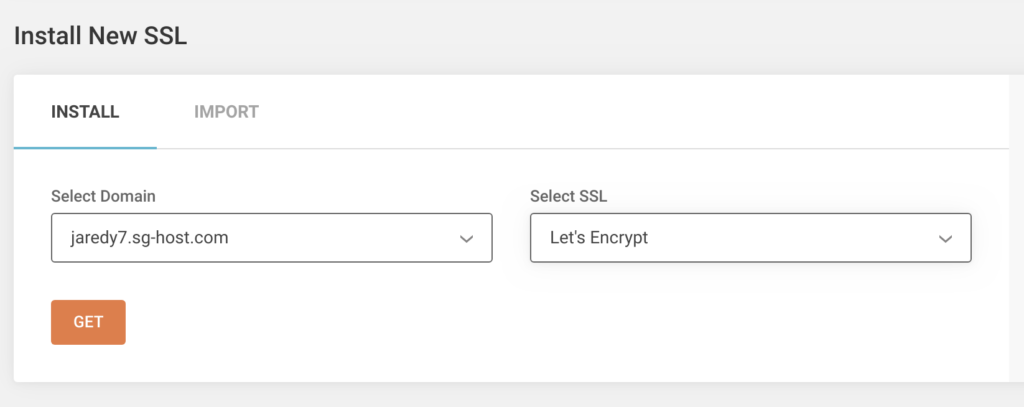
Then, click the Select SSL dropdown and select the Let’s Encrypt certificate type. Finally, click Get and SiteGround will install your free SSL certificate.
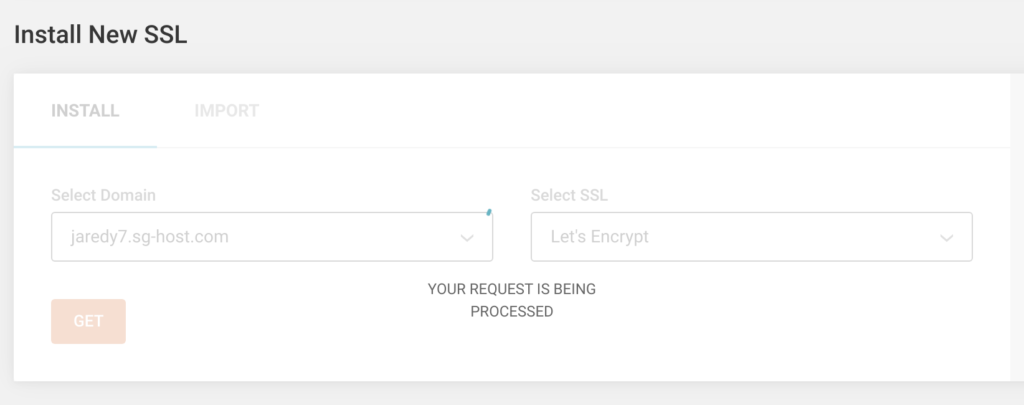
It will take a few minutes for SiteGround to setup your new Let’s Encrypt SSL certificate. Take a coffee break in the meantime.
Once SiteGround is finished installing and configuring your SSL certificate, you will see a notice that your Let’s Encrypt certificate has been installed.
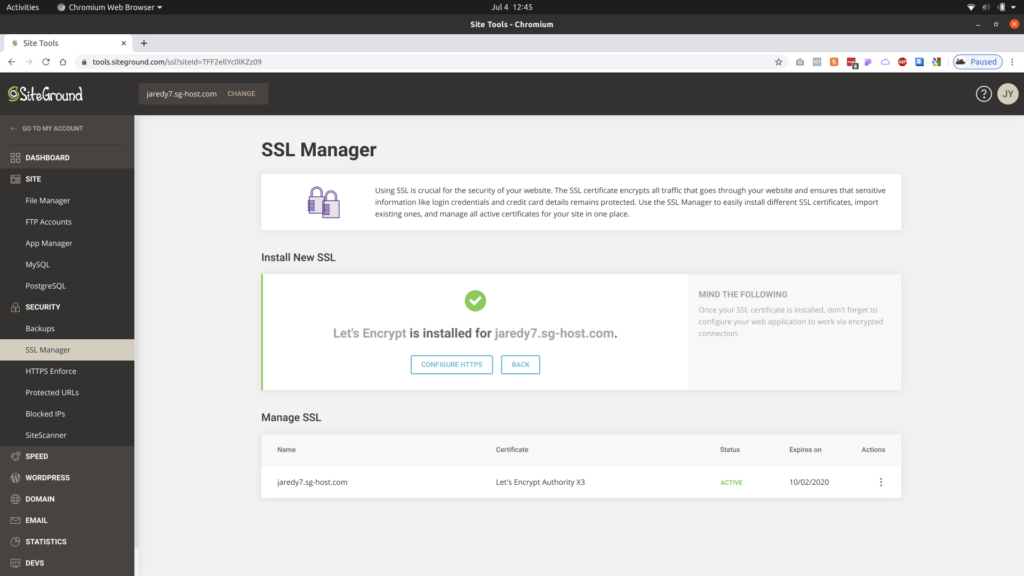
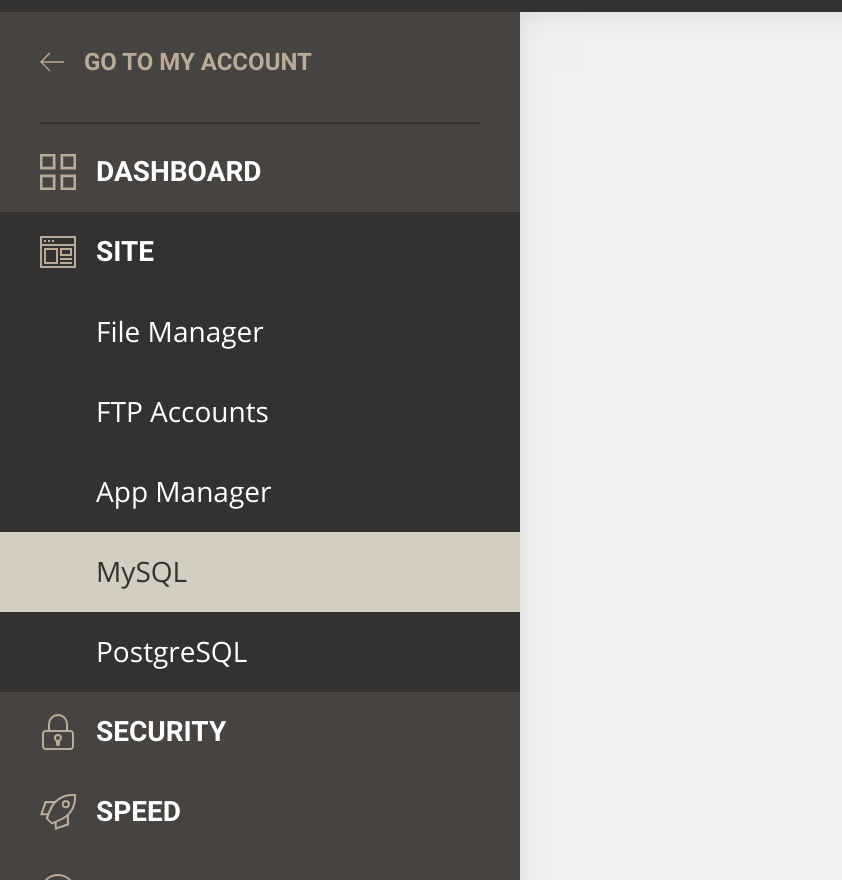
To add and configure a database for our new website, click the MySQL tab under the Site drop-down of the left sidebar.
Configuring the Database
As you create a WordPress sandbox with SiteGround, you will need to create a database for WordPress. The process is relatively trivial, there’s just some information you will need to keep track of along the way.
First, click the MySQL tab under the Site category on the left sidebar.
A new page should appear with the heading MySQL Manager.
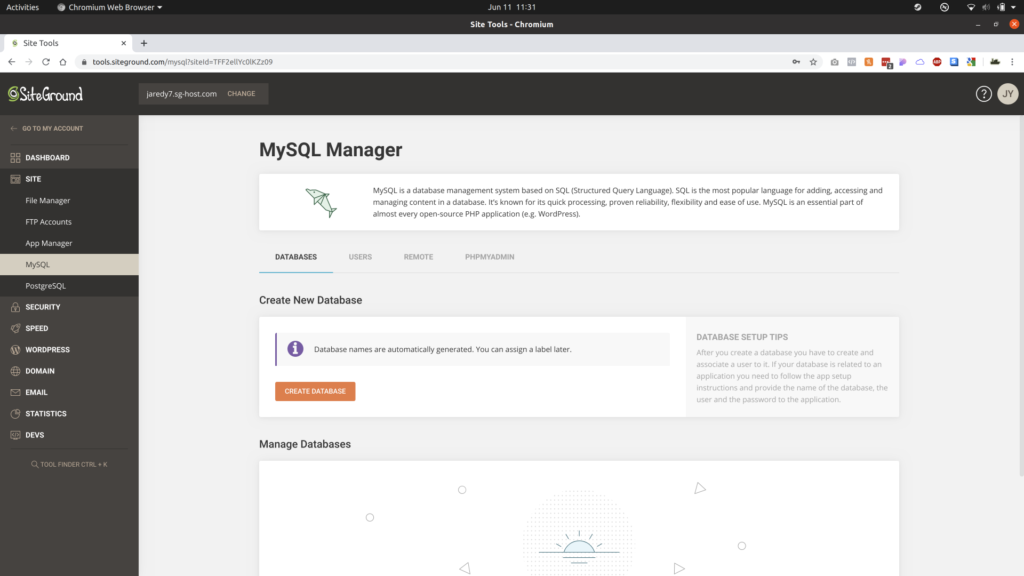
The next step is to click the Create Database button. No further action is needed. SiteGround will provide you the database name. We will need this for installing WordPress.
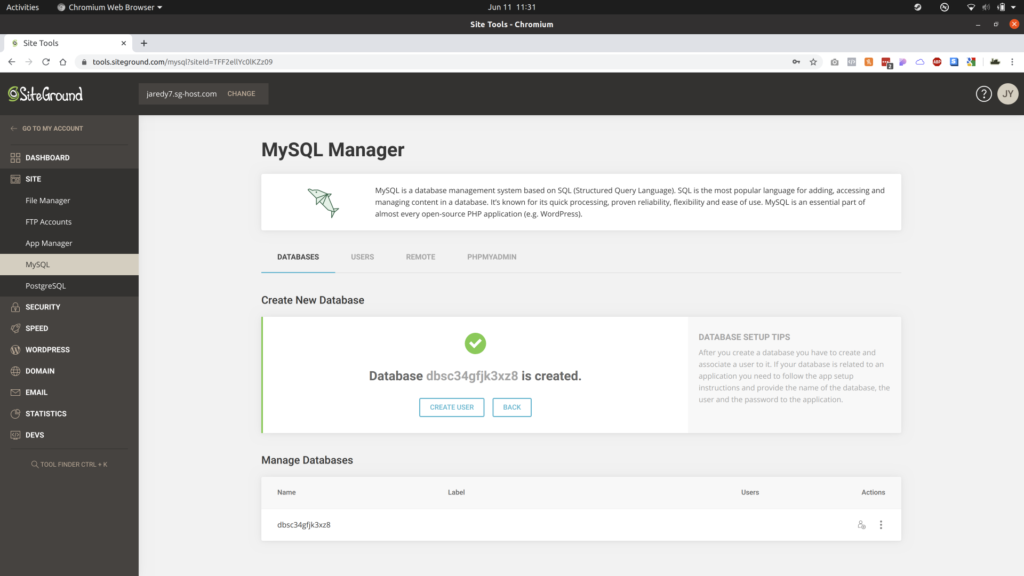
Next, click the Create User button under the creation notification. This will automatically generate a user with a username/password combo.
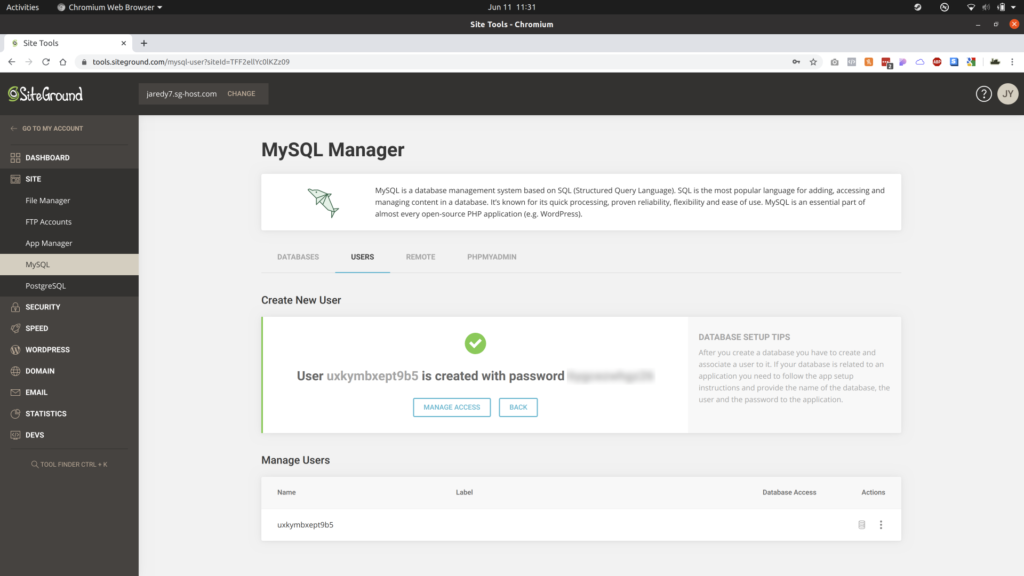
Be sure to write down the password as you will need this later.
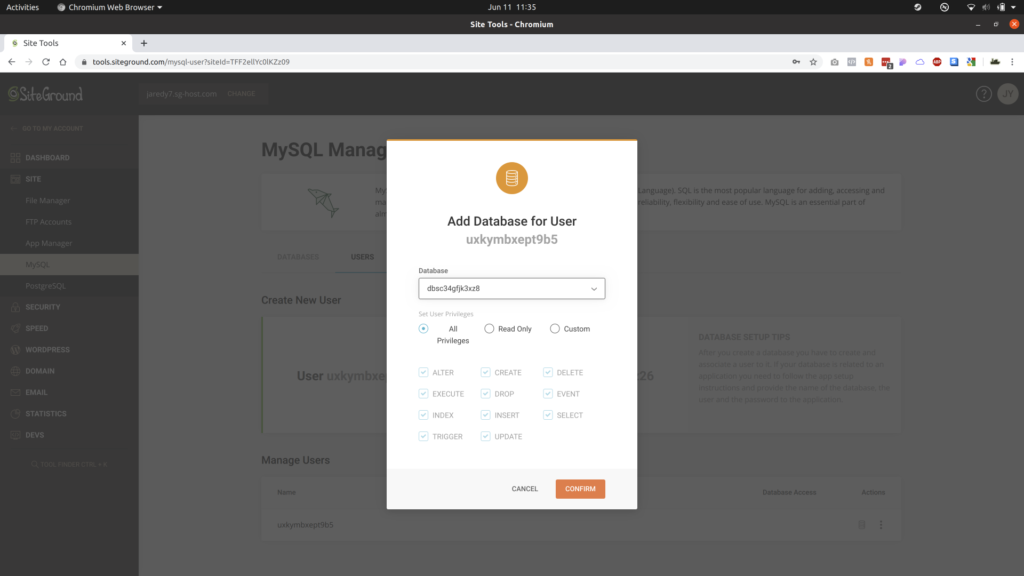
Next, click on the Manage Access button. A popup will display labeled, Add Database for User. The All Privileges radio button should be selected. Then, click Confirm. The prompt gives the newly created user all privileges to manipulate the new database we created.
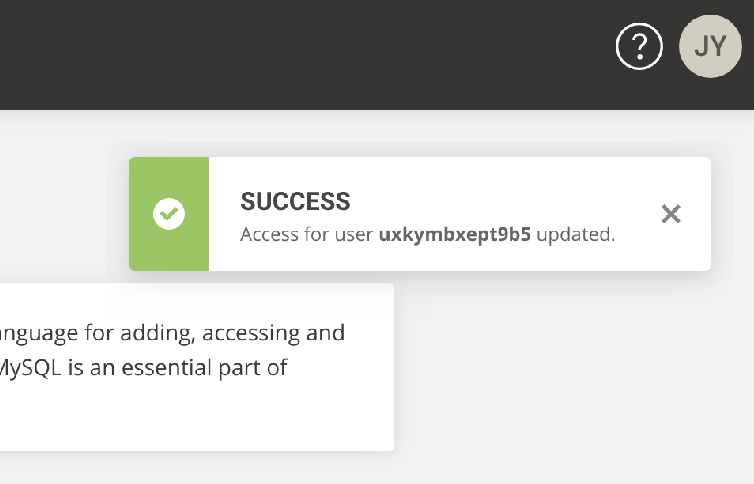
After clicking Confirm, we should see a success notification that the user access is good to go.
Configuring SFTP
In addition to creating a database, you will also need a way to transfer the WordPress files to your hosting account. We can harness a technology called SSH File Transfer Protocol, more commonly abbreviated SFTP. SFTP works by using SSH (Secure Shell or Secure Socket Shell) to encrypt the transferring of files to the FTP (File Transfer Protocol) server.
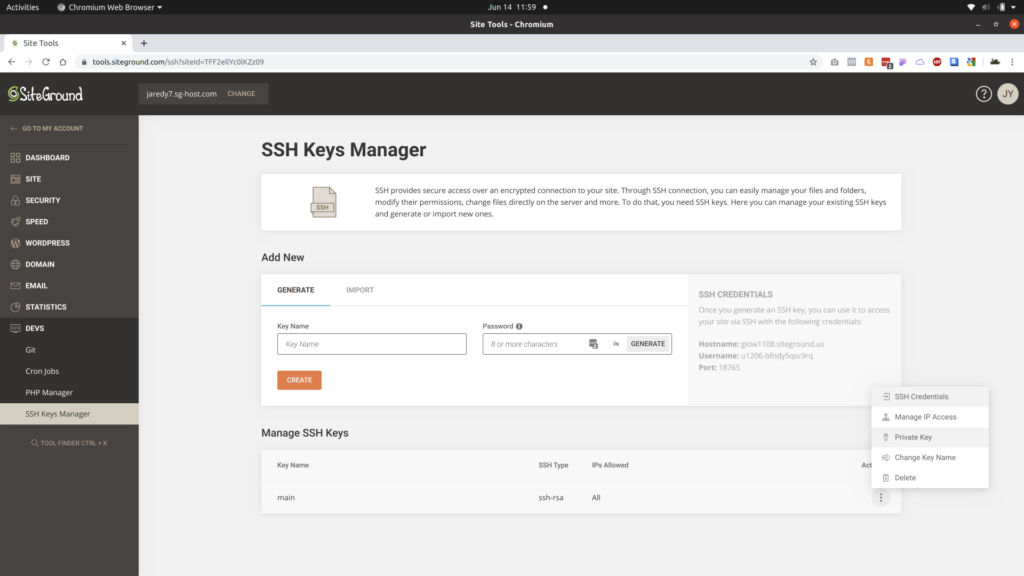
To get started configuring SFTP within SiteGround, head over to the SSH Keys Manager page. On the sidebar on the left, find the Devs tab, click it, then click on SSH Keys Manager.
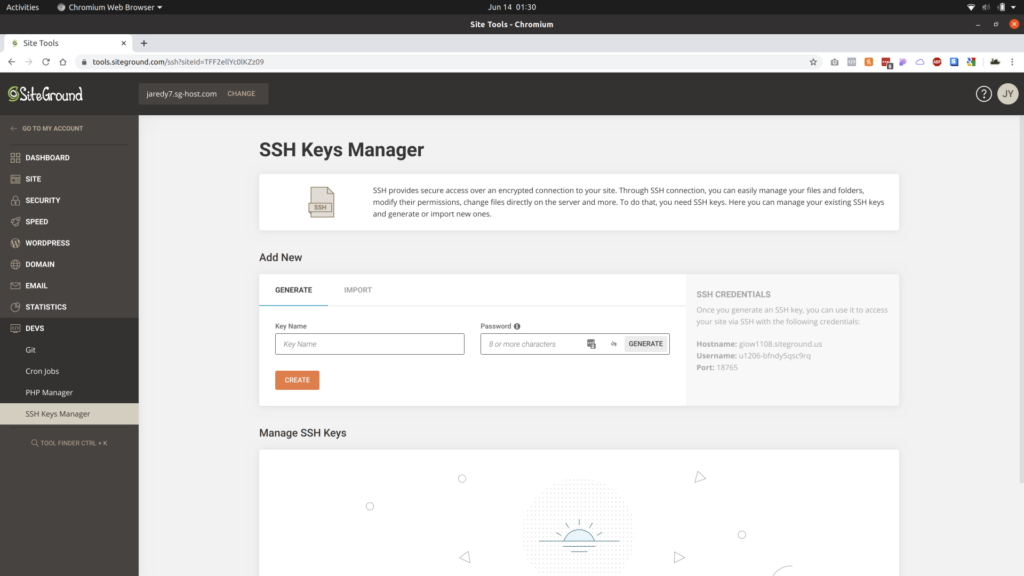
You will need to generate a new SSH key. It’s very easy, all you have to do is enter a key name and password. Do so, then click the Create button.

There’s some information you will need about your newly created SSH key for later on. Click the three dots next to the SSH key, and select the SSH Credentials option in the drop-down.

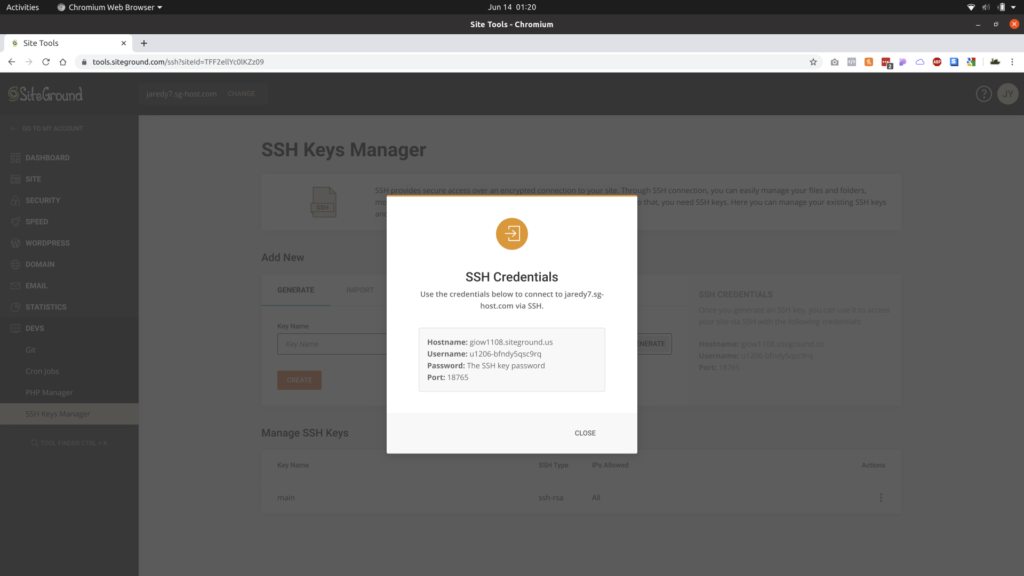
The information you will need will appear in a popup window like the one above.
Be sure you write down your hostname, username, password, and port. You will need this when you copy over WordPress below.
You will also need to copy the private key of the SSH key you created. Click the three dots next to the key. On the drop-down, click the Private Key option.
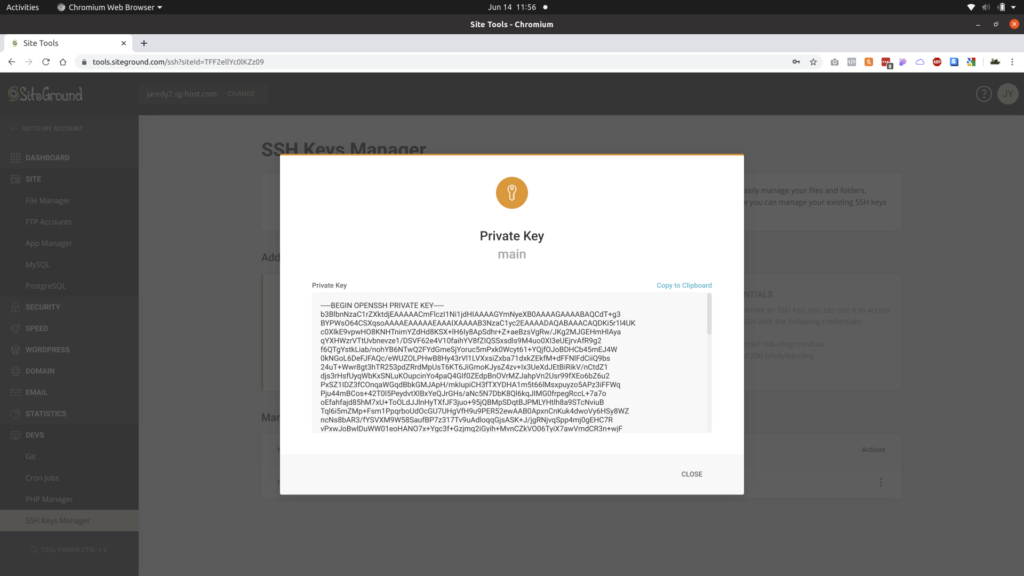
A dialog will appear with the text of the private key. You will need to copy that text. Conveniently, there is a Copy to Clipboard button which will take care of this for you. At this point, you are ready to continue following the steps below.
Copying WordPress Files via SFTP
The next step to setup a WordPress sandbox with SiteGround is to copy all of the WordPress files to our new website. We will utilize SFTP (File Transfer Protocol) for this. SFTP allows you to add, remove, and edit the files of your website. First, you will need an FTP client in order to harness this protocol. Most FTP clients will be compatible with SFTP.
FileZilla
If you’re looking for an FTP client, I would recommend FileZilla. FileZilla is a popular free and open source FTP client. For this guide, I will be using FileZilla. If you’re using it too, I will be walking through how to use it when copying the WordPress files.
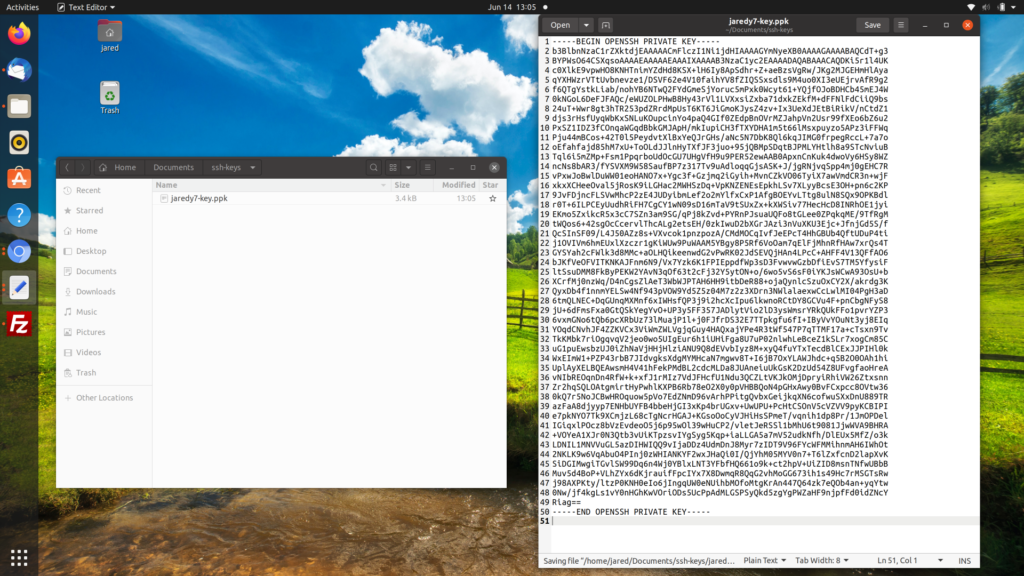
The first step you need to take is creating a file in a safe place to paste our private key into. Feel free to name this file anything, however it should have a .ppk extension. Next, you will need paste all of the text in the private key box from the last step into the new file.
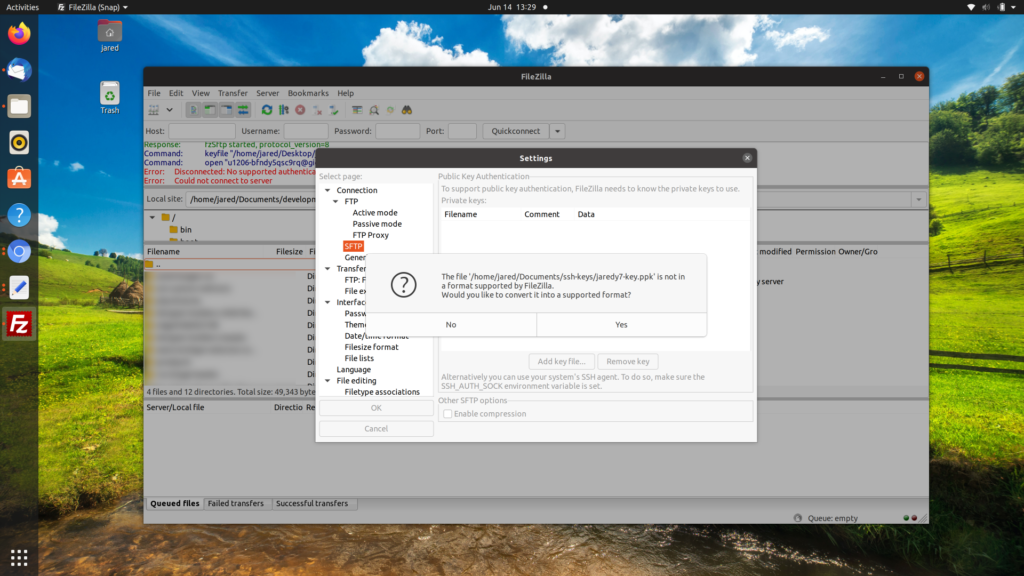
You should see a prompt appear asking if you would like to convert the key file to a supported format.
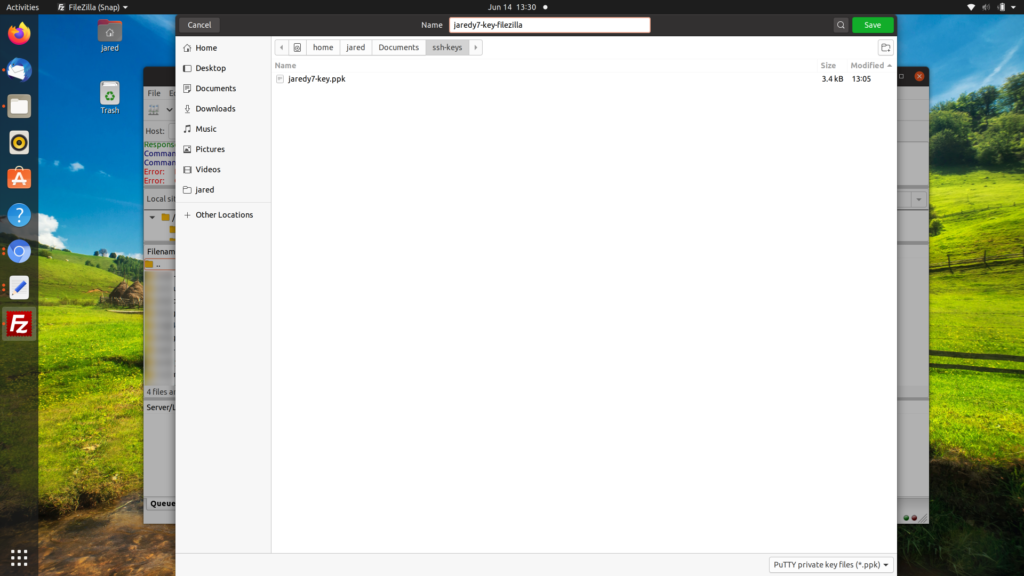
Save this new key file (compatible with FileZilla) in a safe location. I stored mine with my existing key file that I made earlier.

Your key file is now registered in FileZilla. Be sure to click the OK button under the left sidebar of the settings window to save changes.
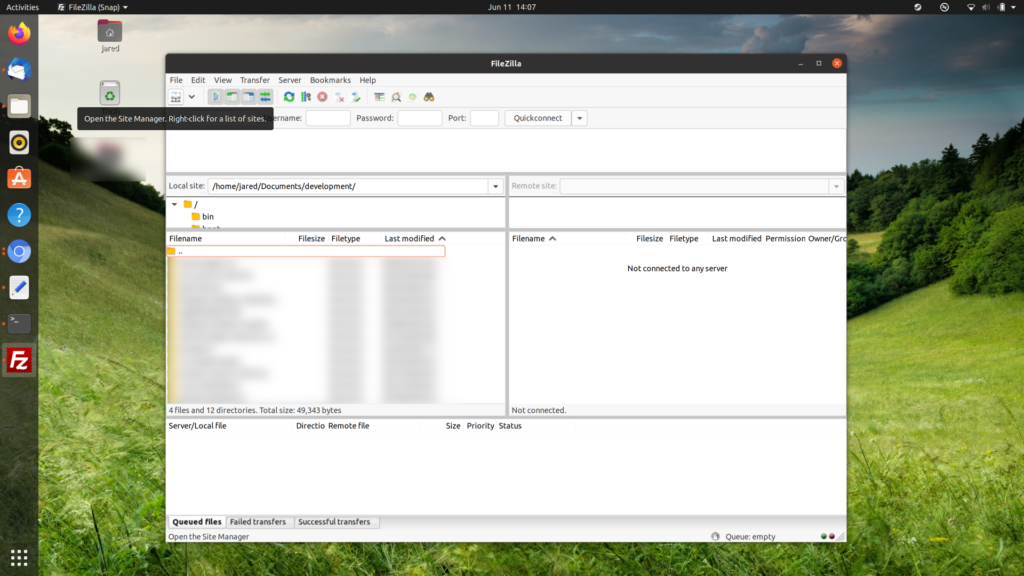
Find the Site Manager button and click it. It should be in the top left corner of the main FileZilla window.
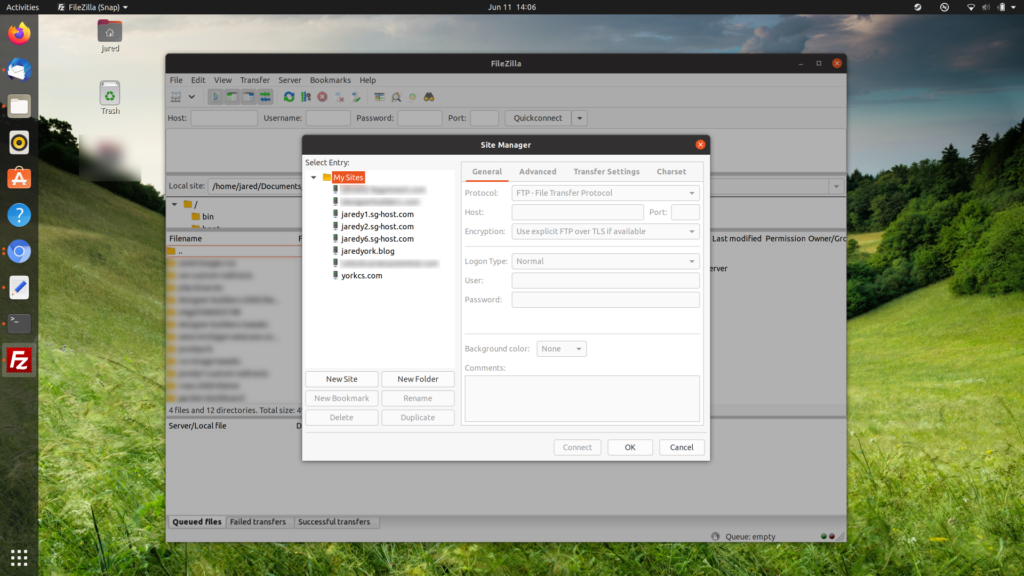
Once Site Manager opens, click the New Site button on the left. This will create a new entry for the newly setup SiteGround site. You will be able to easily connect to your website via FTP without typing in the credentials every time by adding this entry.
You will need to enter the host, port, SSH key user name, and SSH key user password that you’ve gathered previously. The fields are relatively self explanatory, just put the corresponding value in each of the fields. Ensure the Logon Type is set to Normal.
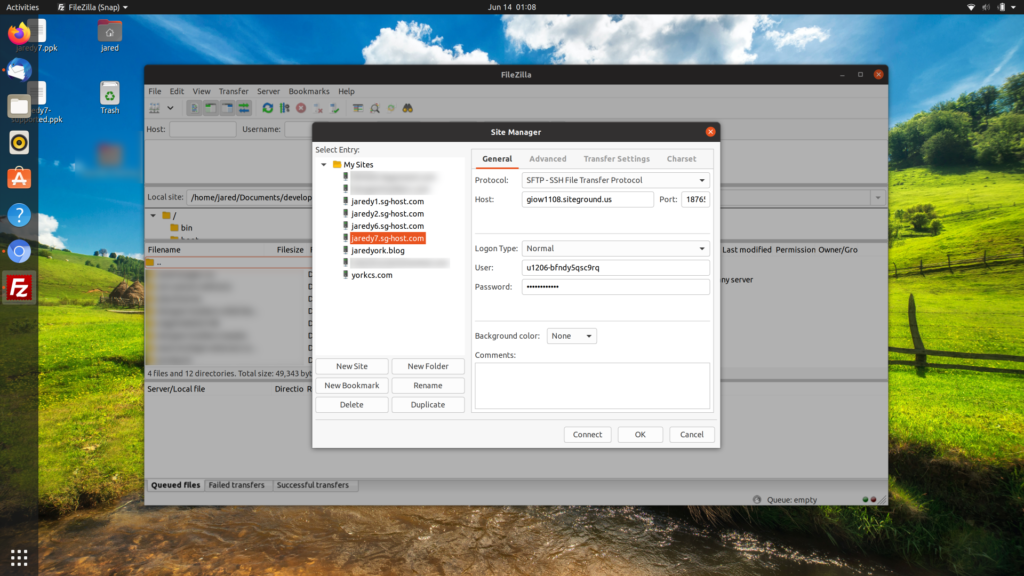
Once you’ve added the connection details for the site, you can click OK to save them.
Feel free to rename your Site Manager entry. You can do so by double-clicking the New Site entry in the sidebar and entering a new name. When you’re all set, just press enter to save the new name.
At this point, you should be ready to connect to your website via SFTP.
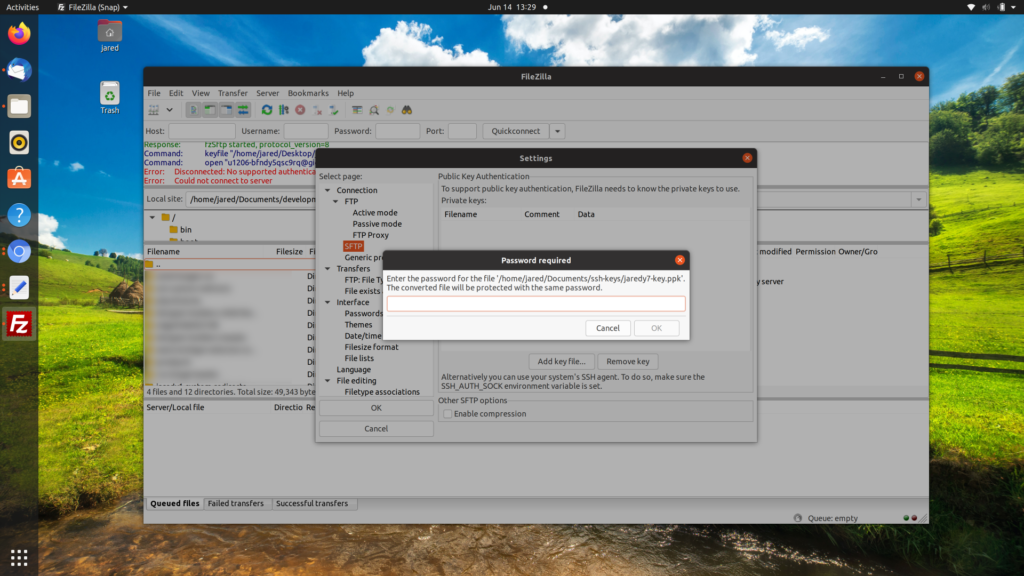
You will be prompted to enter the password for the SSH key before you can connect to your website.
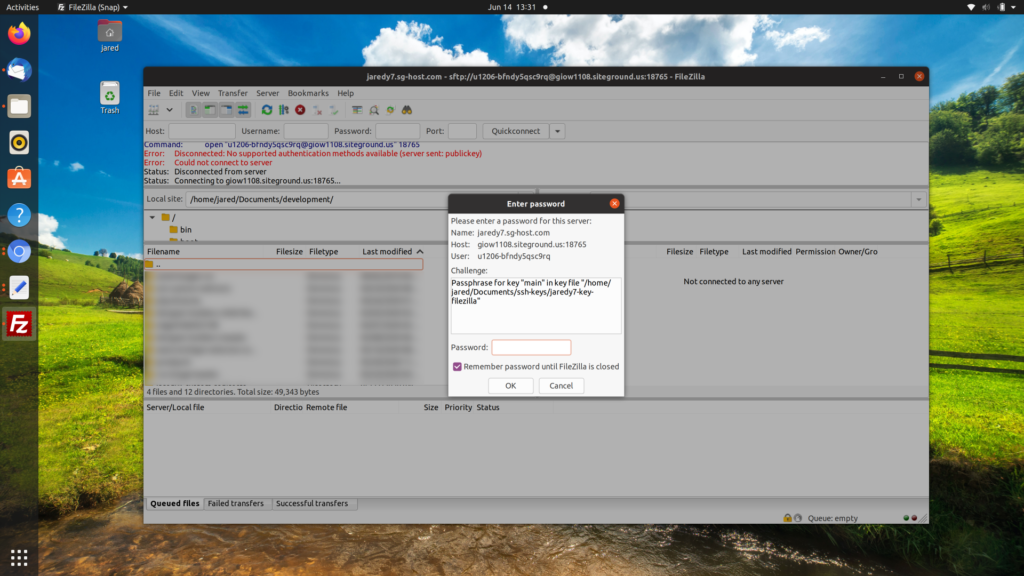
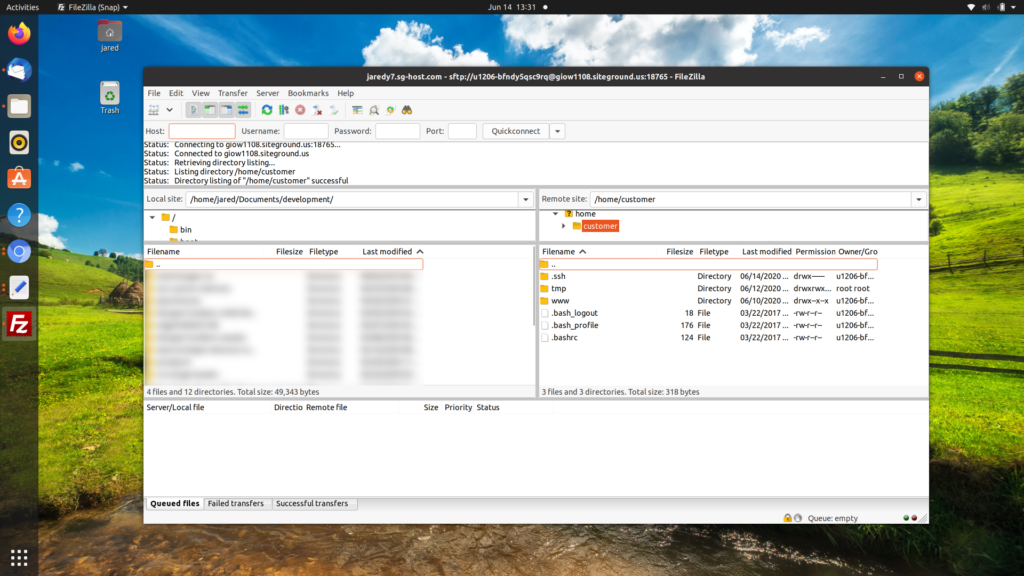
Once validated, FileZilla will be connected to your website!
Next, click the Add Key File button. A file browser will open, then navigate to where you saved the private key file. Once you select the file and open it, you will probably receive a dialog asking if you would like to convert the file to a supported format. Select Yes, and another file dialog will appear.
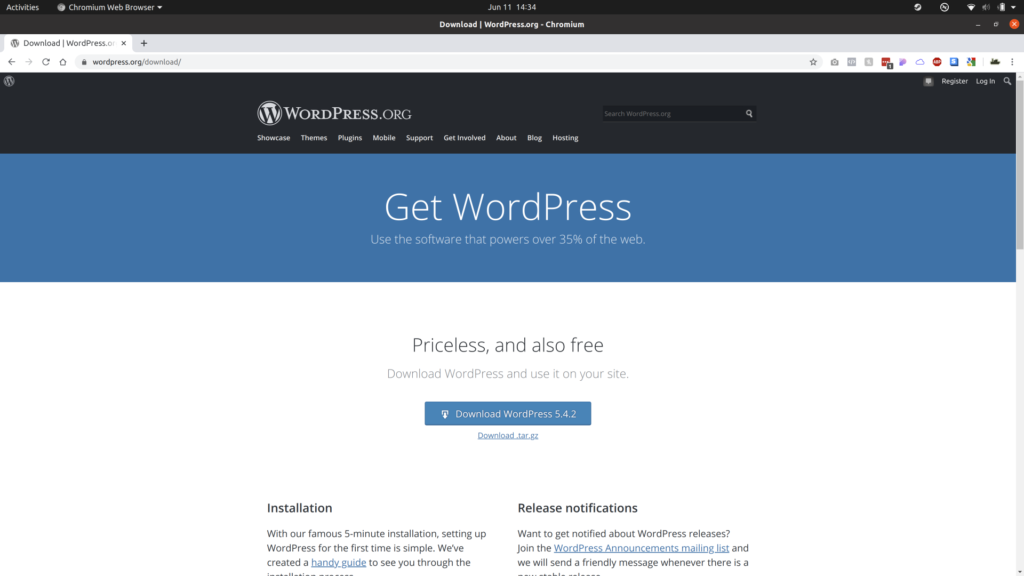
Downloading WordPress
Next, the files for WordPress need to be downloaded. Head over to WordPress.org and click the blue Download WordPress <current version number> button. As of the time of writing this, WordPress is on version 5.4.2.
Once the WordPress ZIP folder has downloaded, extract it. The easiest way to transfer the WordPress files at this point is to move a file browser window next to FileZilla. Reconnect to your website by clicking the down arrow next to the Site Manager button, then click your Site Manager entry. After a few seconds, you should see the root directory of your site appear on the right side of FileZilla.
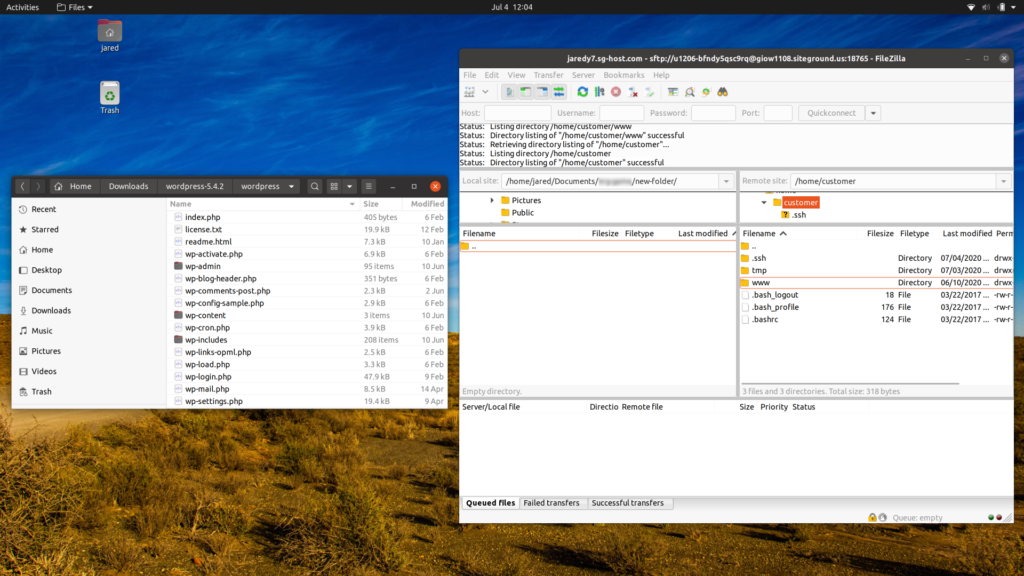
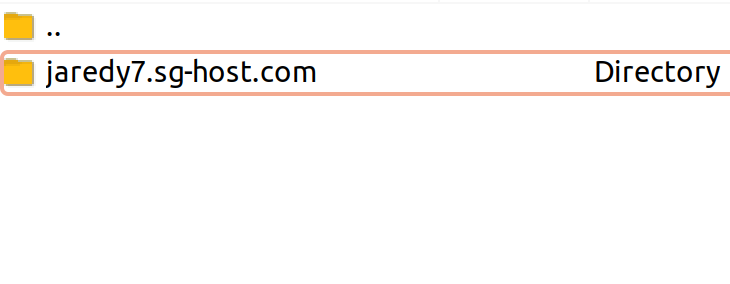
You can’t just drop the WordPress files anywhere though. First, double click the www directory, then you should see another folder with the name of your domain. Double-click this folder.
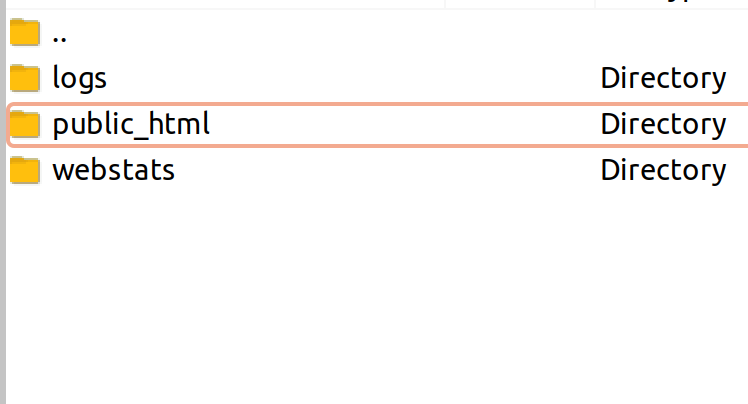
Then you should see three more folders appear. Double-click the public_html folder. This is the actual folder where your website files are stored.
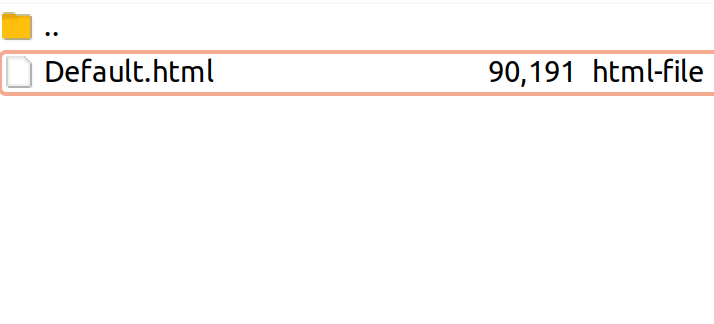
Now you should just see a single file, Default.html. You will want to delete this file, it’s just a default placeholder. We will be dumping the WordPress files here instead.
Select all of the WordPress files from the extracted folder and click and drag the files to the right side of FileZilla where it says Empty directory listing.
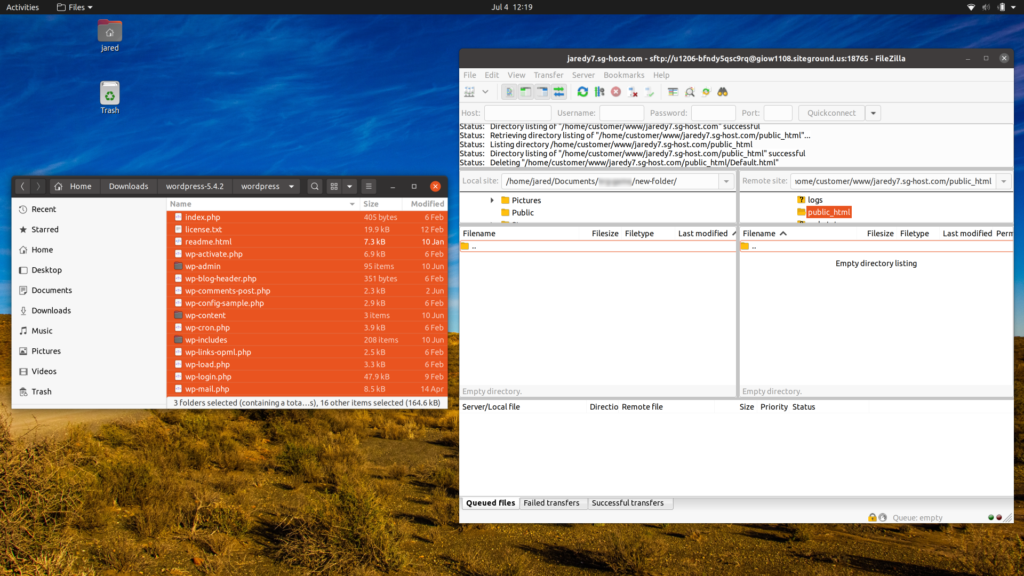
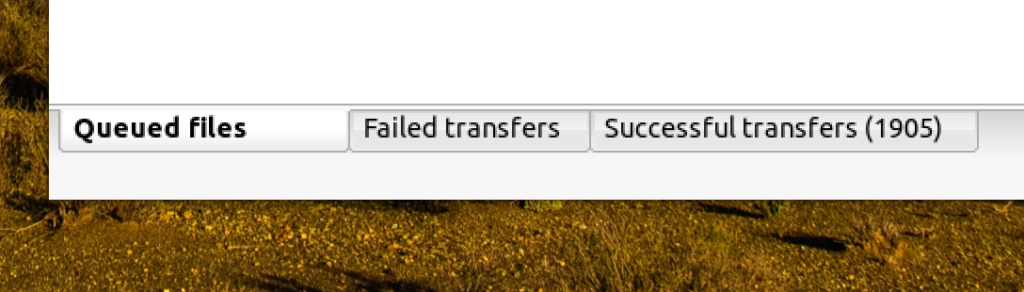
You will know that the WordPress files have finished transferring once you see no queued files. If everything went smoothly, there shouldn’t be any failed transfers.
No matter if you are setting up a WordPress sandbox with SiteGround or another host, the next step is to install WordPress. Open your browser and navigate to your temporary domain, but make sure it’s prefixed with https://. Be sure that you see a green lock next to the website address to make sure the installation process is secure.
If you’re using Chrome, you should see the website address look like the following:

Or if you’re using Firefox, it should look very similar:

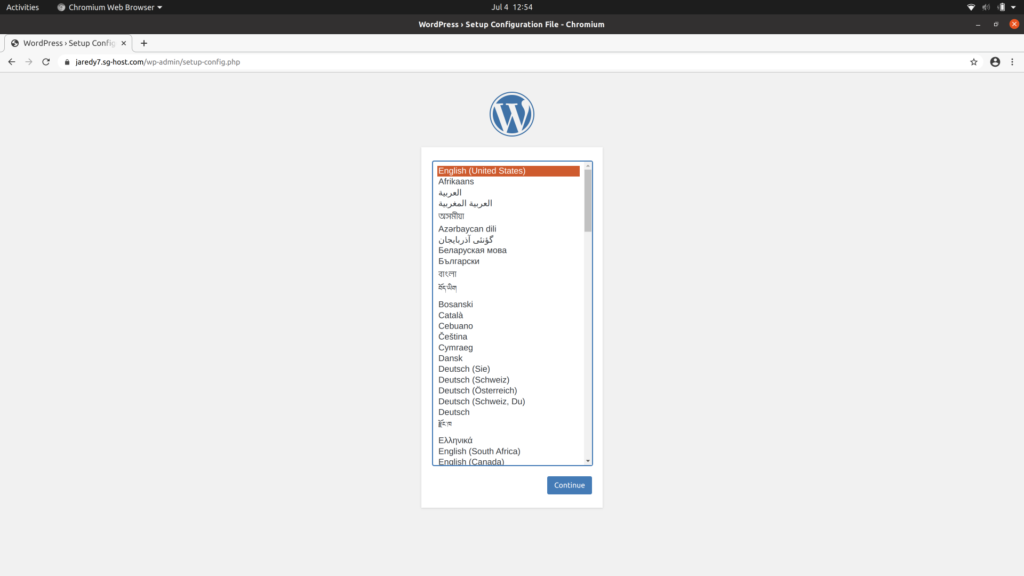
Once you’ve checked for the green lock, ensure that you’re seeing the same page as the one below. If you are, select your language and click Continue.
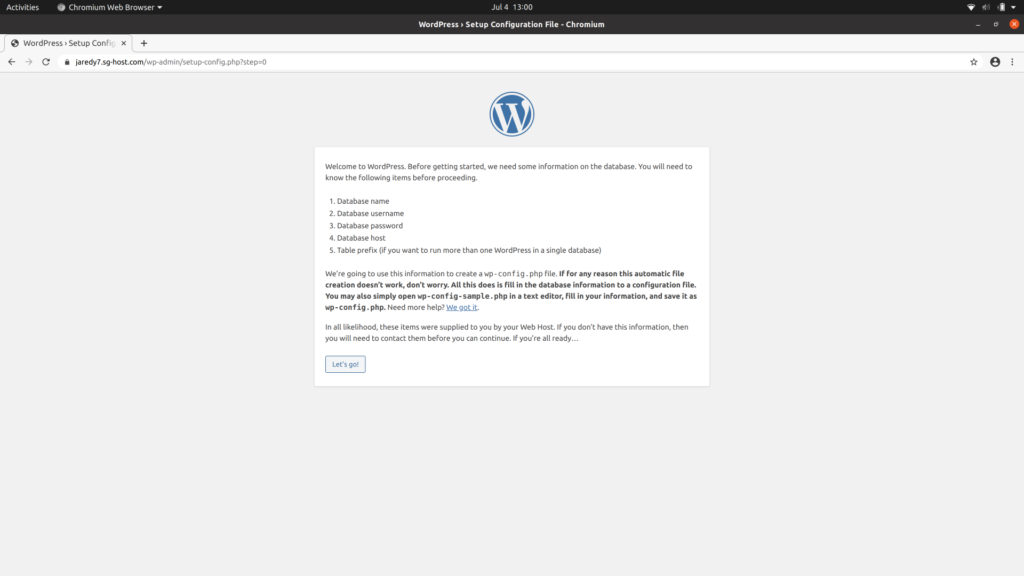
The next screen is just informing you that you need your database credentials before proceeding. You should have these from the steps you’ve taken earlier. After you have your database credentials on hand, click Let’s go!.
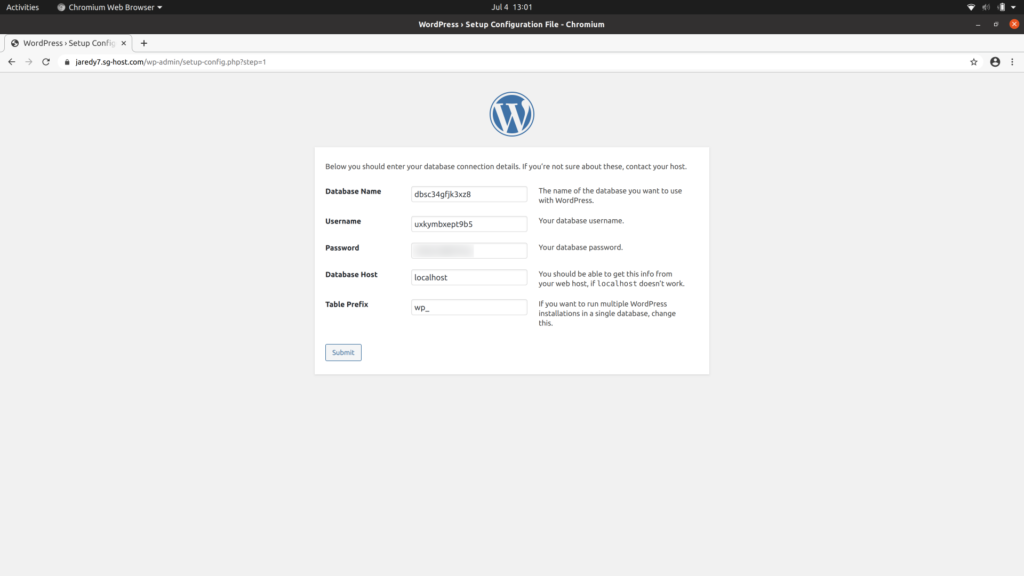
You will see a screen prompting you for your database credentials. Enter them for each of the fields and click Submit.
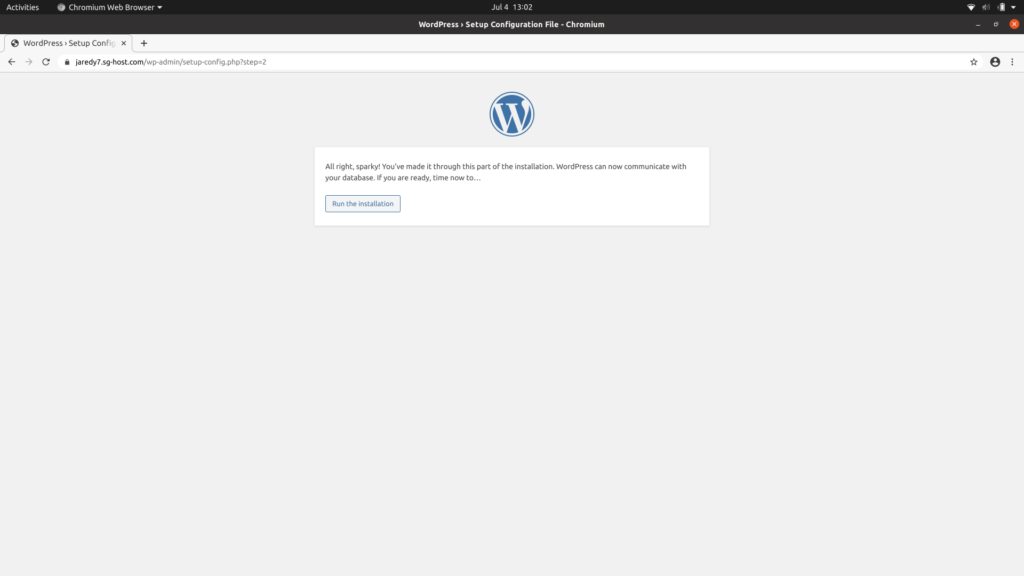
If all of the credentials were accepted, you should see the following notice that WordPress is ready to be installed. Click the Run the installation button. There is still some information WordPress still needs such as your website name and the username and password for your administrator account.
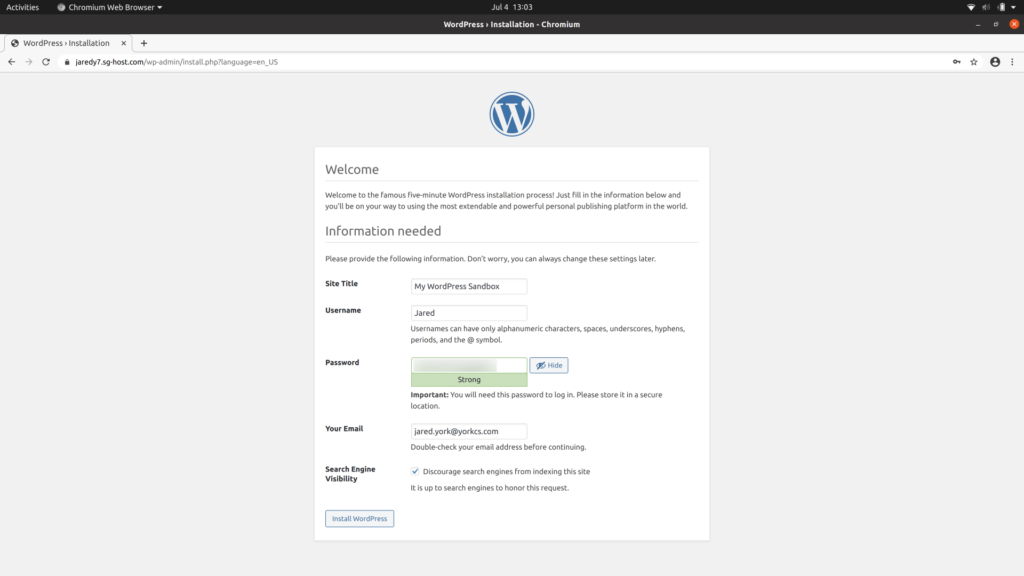
You should now see the following screen prompting for your website title and username, password, and email for your administrator account. I would recommend enabling the Discourage search engines from indexing this site checkbox since this website will be a sandbox for you.
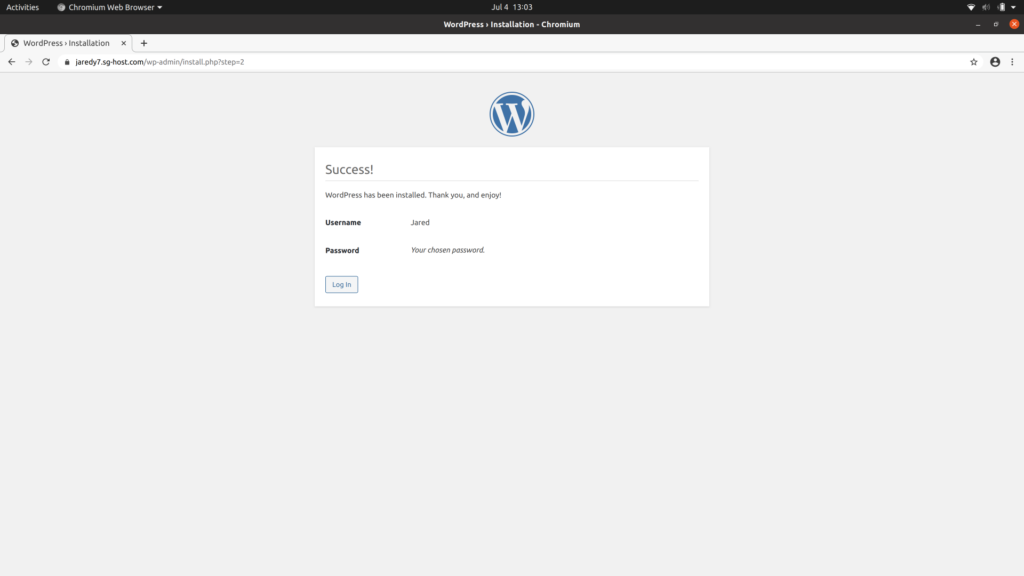
After you filled in all the information, click Install WordPress. The installation is very quick, it only takes a few seconds. WordPress will then inform you that the installation was successful. Click the Log In button to log in to your new WordPress site!
Enter the username and password you just entered above to log into your site, then click the Log In button.

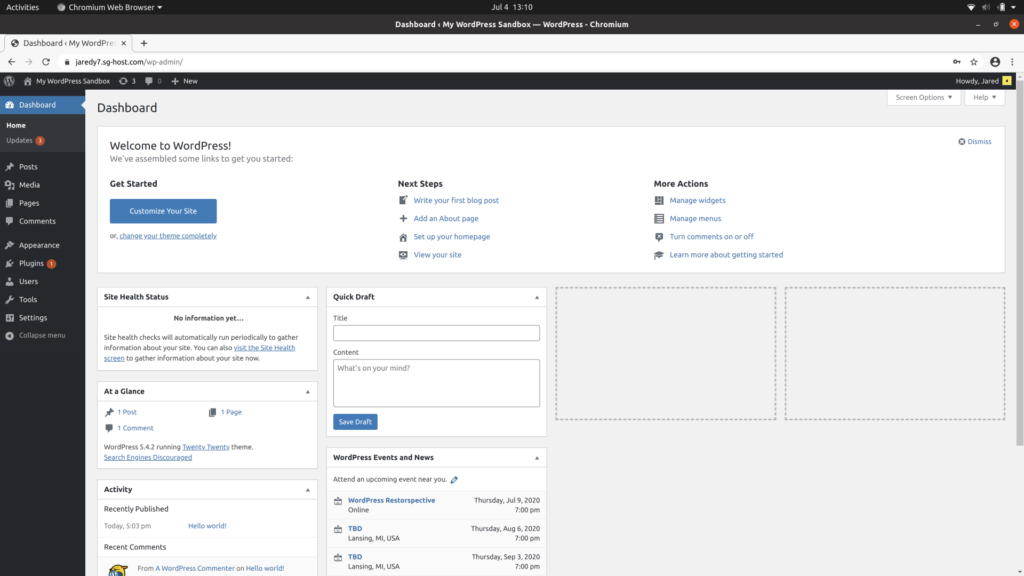
If your credentials are correct, the WordPress dashboard for your sandbox site should appear!
Final Thoughts
You now have created a WordPress sandbox with SiteGround, perfect for testing themes, plugins, and configurations. Whether you’re a website designer or developer, it’s useful to know how to setup a test website on a live environment. Do you still need help creating a WordPress sandbox with SiteGround? Please contact us and we would be glad to consult with you to help setup the perfect testing environment.